Google Gemini CLI: A Comprehensive Guide to Building AI-Powered Terminal Tools
Introduction
In the modern software engineering landscape, context switching is the productivity killer. Developers spend hours daily toggling between their integrated development environment (IDE), terminal, and web-based documentation or AI chat interfaces. While web UIs for Large Language Models (LLMs) like Google Gemini are powerful, they disrupt the flow of a developer deeply immersed in code execution and system administration.
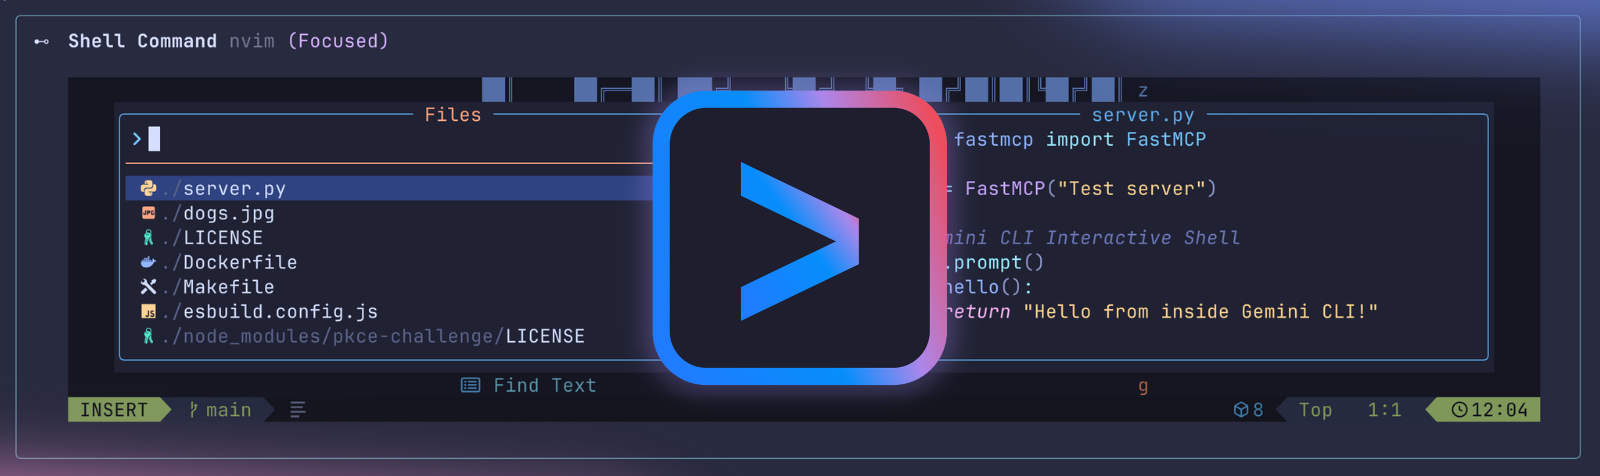
This is where the Google Gemini CLI workflow becomes a transformative asset. By bringing the capabilities of the Gemini Pro and Gemini Ultra models directly into the command line interface, engineers can automate documentation generation, debug complex error logs, and generate code snippets without ever lifting their hands from the keyboard. The terminal is the native habitat of the developer; integrating generative AI into this environment is not just a convenience—it is a logical evolution of developer tooling.
Integrating Google Gemini into a CLI environment allows for composability. You are not just chatting with a bot; you are piping the output of a git diff into a prompt to generate a commit message, or feeding a server error log directly into Gemini to diagnose the root cause. This guide serves as the definitive resource for architects and developers looking to harness Google's generative AI SDKs to build robust, type-safe command-line tools.
What is Google Gemini CLI?
Strictly speaking, "Google Gemini CLI" refers to the programmatic interaction with Google's Gemini models via the command line, typically achieved by wrapping the Google Generative AI SDKs in a shell interface. Unlike legacy CLI tools that are static, a Gemini-powered CLI creates a dynamic, non-deterministic interface that can reason about inputs, understand context, and handle multimodal data streams (text, code, and images).
This concept matters profoundly because it bridges the gap between deterministic system operations and probabilistic AI reasoning. When we talk about a Gemini CLI, we are discussing a toolchain that allows terminal inputs—standard streams (stdin), arguments, and flags—to serve as prompts for the most advanced multimodal models available. This enables workflows that were previously impossible without complex API plumbing.
For example, a DevOps engineer can use a Gemini CLI tool to parse complex JSON logs from Kubernetes pods and ask plain English questions about system health. A frontend developer can pipe a screenshot of a UI component into the terminal and receive the corresponding React code or Tailwind CSS classes. The Gemini CLI represents the shift from "using AI tools" to "embedding AI into the operating system layer" of your development workflow.
Technically, this involves leveraging the @google/generative-ai library, typically within a Node.js or Python runtime, to manage authentication, session history, and stream handling, presenting the results in a human-readable format directly in the shell.
Key Features and Capabilities
The ecosystem surrounding Google Gemini offers specific features that make it uniquely suited for CLI integration. Understanding these capabilities is essential for designing effective terminal tools.
Multimodal Input Processing
Unlike text-only predecessors, Gemini is natively multimodal. This means your CLI tool is not restricted to processing text strings. You can accept file paths pointing to images (PNG, JPEG) or PDF documents as arguments. The model can analyze a diagram of a database schema passed via a file flag and output the SQL migration script required to build it. This capability transforms the CLI from a text processor into a media-aware analysis tool.
Streaming Responses
Latency is a critical UX factor in CLI tools. Users are accustomed to immediate feedback. Gemini supports streaming partial responses, allowing the CLI to print tokens to stdout as they are generated. This prevents the "hanging cursor" problem where the terminal appears frozen while the model computes the entire response. Implementing streaming creates a fluid, conversational experience similar to standard shell interactivity.
Function Calling (Tools)
Perhaps the most powerful feature for a CLI context is Function Calling. This allows the model to output structured data objects that map to actual functions in your code. If a user asks the CLI to "check the current weather" or "query the database," Gemini doesn't just hallucinate a response; it returns a request to execute a specific local function. Your CLI can then run that function (e.g., executing a curl command or a SQL query) and feed the result back to the model. This turns Gemini into an orchestration engine for your local system tools.
Adjustable Safety and System Instructions
Enterprise environments require strict adherence to safety protocols. The API allows granular control over safety settings (blocking hate speech, harassment, etc.) and, more importantly, supports "System Instructions." These are directives set at the initialization level that define the persona and constraints of the CLI. You can instruct the CLI to "always answer in valid JSON" or "act as a Senior Site Reliability Engineer," ensuring output consistency.
Installation and Setup
To build a robust Google Gemini CLI, we will use TypeScript and Node.js. This combination offers excellent type safety and a vast ecosystem of CLI-building libraries like commander and inquirer.
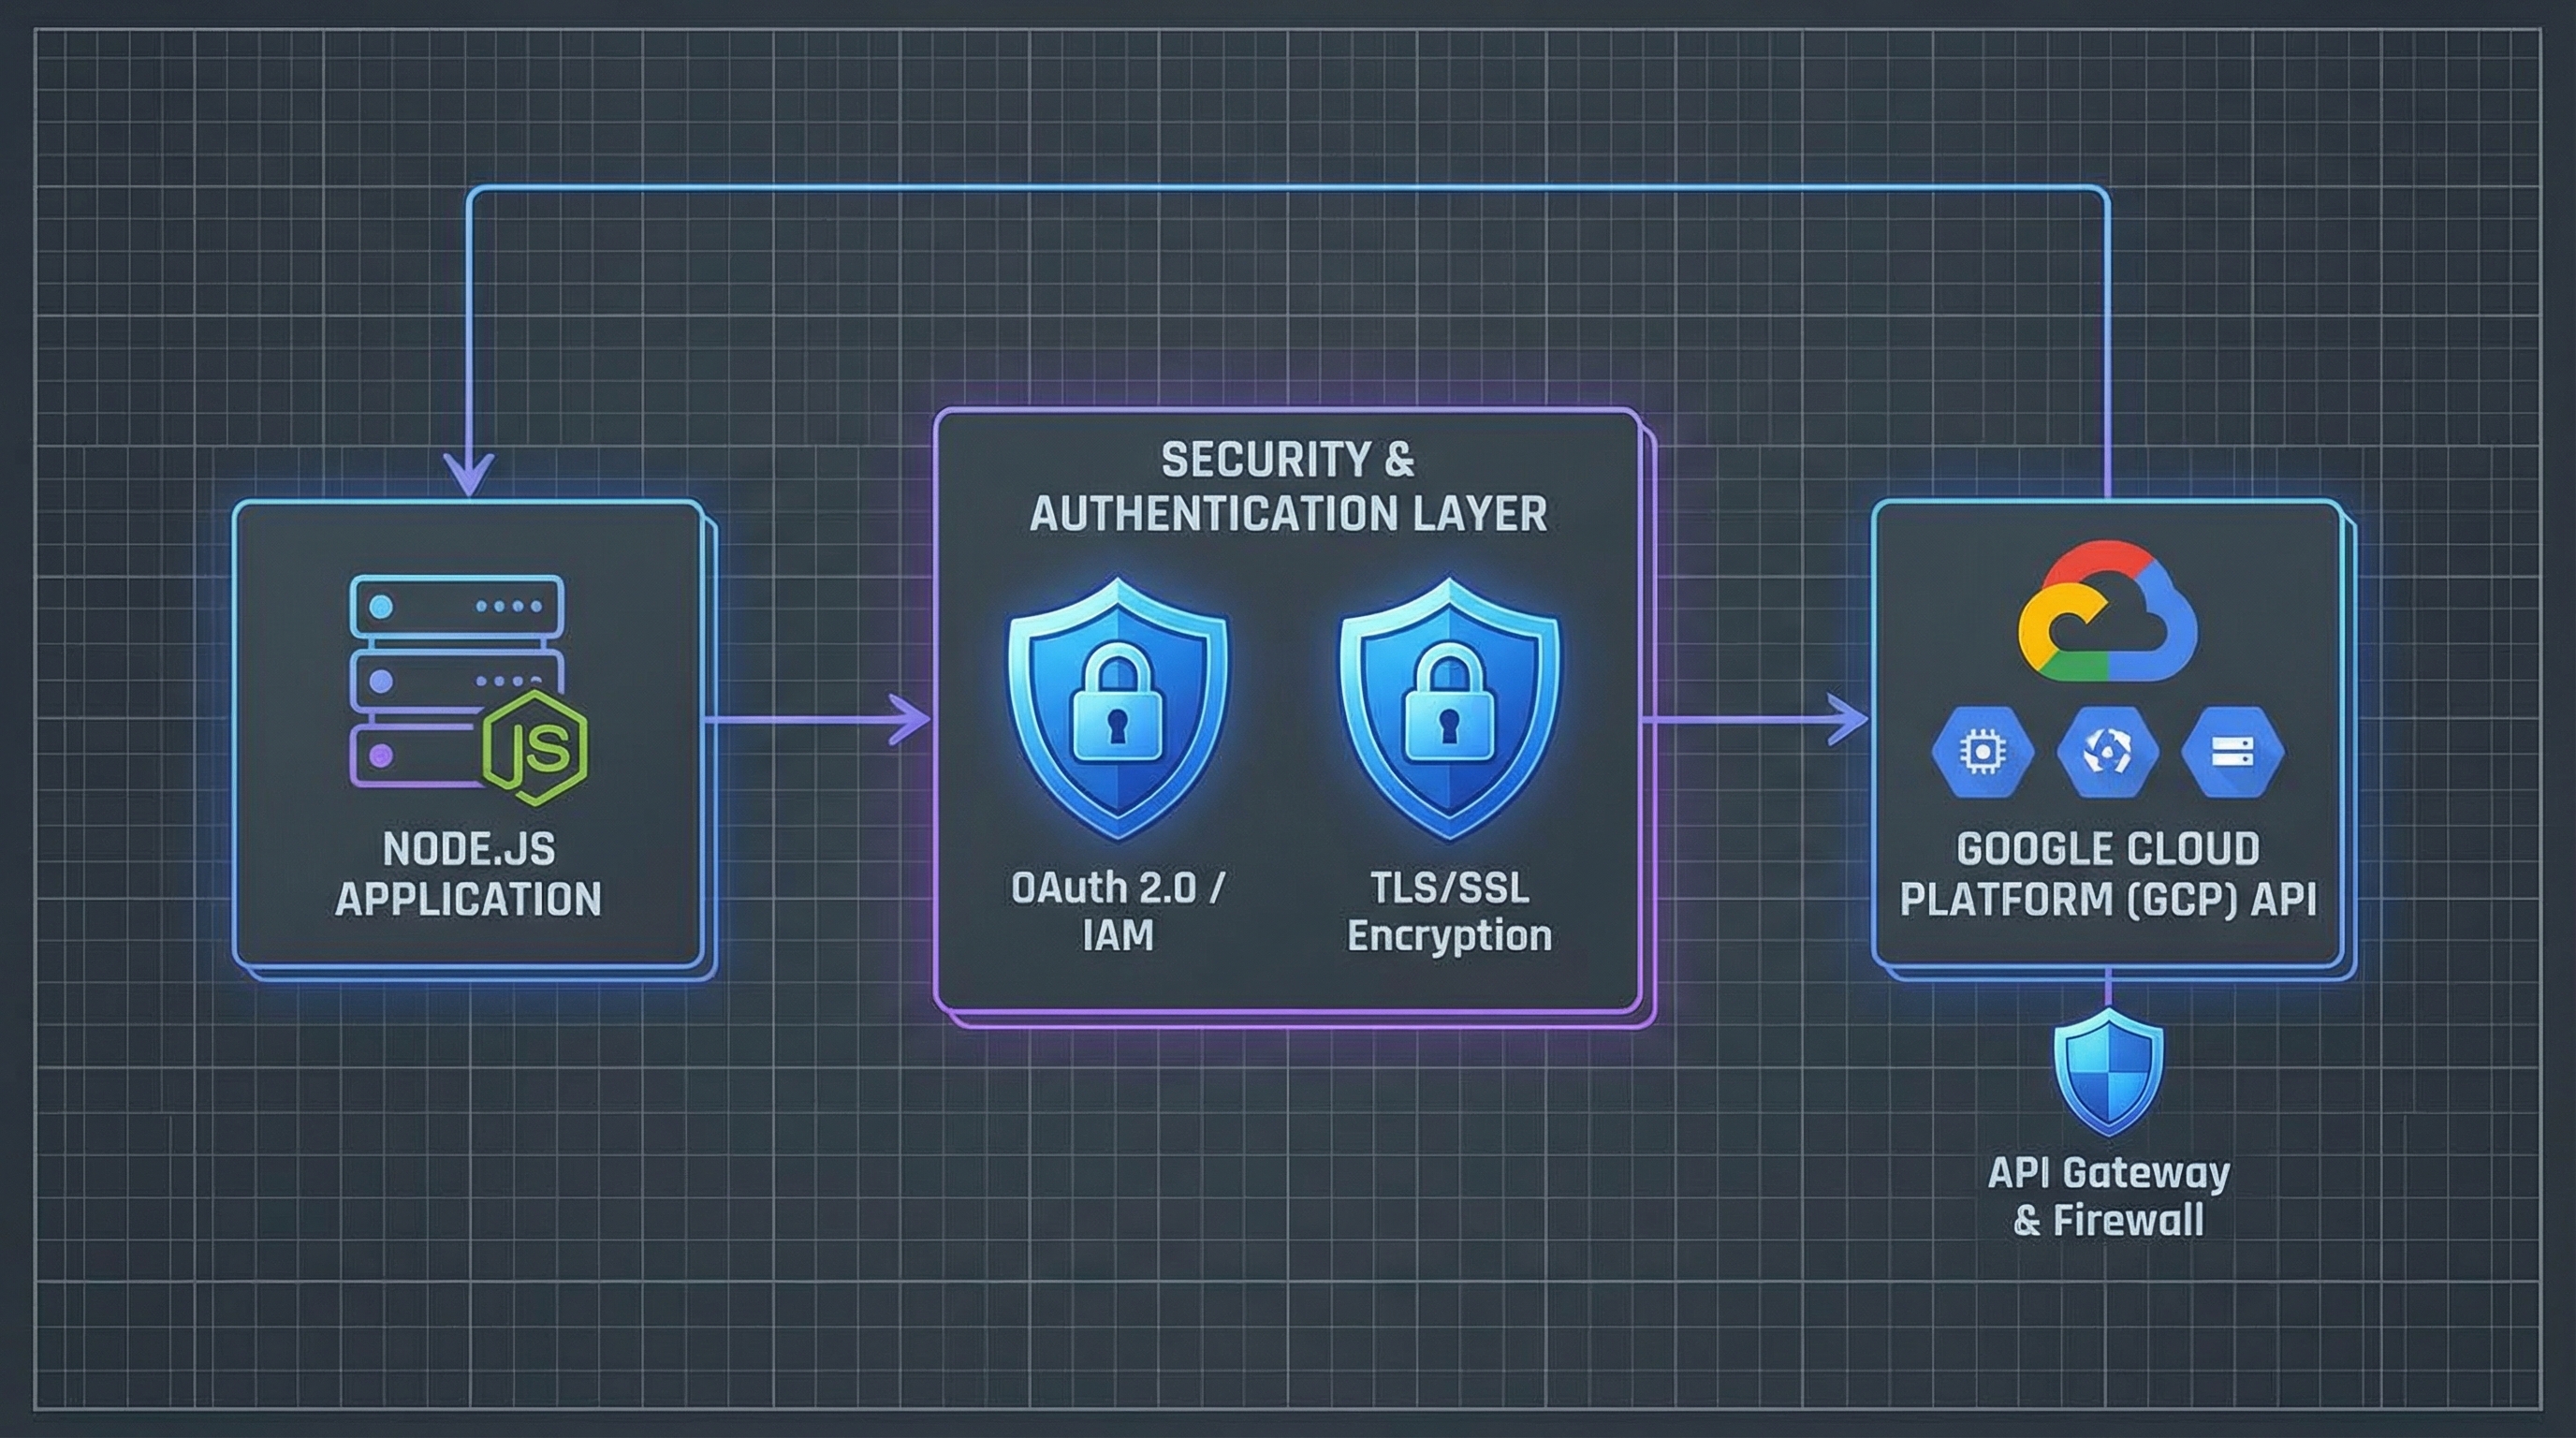
Prerequisites
Ensure you have Node.js (version 18 or higher) installed. You will also need a Google Cloud Project or a simplified API key from Google AI Studio.
Step 1: Project Initialization
Create a new directory and initialize a TypeScript project. We will use ESM (ECMAScript Modules) for modern syntax support.
mkdir gemini-cli-tool
cd gemini-cli-tool
npm init -y
npm install typescript ts-node @types/node --save-dev
npx tsc --init
Update your package.json to include "type": "module" to enable ESM support.
Step 2: Install Dependencies
We need the official Google SDK, dotenv for security, and ora for terminal spinners.
npm install @google/generative-ai dotenv ora chalk

Step 3: API Key Configuration
Security is paramount. Never hardcode API keys. Create a .env file in your root directory:
GOOGLE_API_KEY=your_actual_api_key_here
Ensure .env is added to your .gitignore file to prevent accidental version control commits.
Step 4: TypeScript Configuration
Update tsconfig.json to ensure compatibility:
{
  "compilerOptions": {
    "target": "ES2022",
    "module": "NodeNext",
    "moduleResolution": "NodeNext",
    "strict": true,
    "esModuleInterop": true,
    "skipLibCheck": true
  }
}
Practical Examples
Below are real-world implementations demonstrating how to structure a Gemini CLI tool. These examples progress from basic prompting to complex multimodal interactions.
Example 1: Basic Streaming Text Interface
This script creates a simple prompt utility that accepts input and streams the response to the terminal. Streaming is crucial for maintaining user engagement in a CLI environment.
// src/ask.ts
import { GoogleGenerativeAI } from "@google/generative-ai";
import dotenv from "dotenv";
import process from "process";

dotenv.config();

const apiKey = process.env.GOOGLE_API_KEY;
if (!apiKey) {
  console.error("Error: GOOGLE_API_KEY is missing from .env");
  process.exit(1);
}

const genAI = new GoogleGenerativeAI(apiKey);

async function main() {
  const prompt = process.argv.slice(2).join(" ");

  if (!prompt) {
    console.log("Usage: ts-node src/ask.ts <your prompt>");
    return;
  }
try { // Use Gemini 1.5 Flash for speed in CLI tools const model = genAI.getGenerativeModel({ model: "gemini-1.5-flash" });
const result = await model.generateContentStream(prompt);

process.stdout.write("Gemini: ");

// Iterate through the stream chunks
for await (const chunk of result.stream) {
  const chunkText = chunk.text();
  process.stdout.write(chunkText);
}
process.stdout.write("
");
} catch (error) { console.error("Generation failed:", error); } }
main();
To run this:
`npx ts-node src/ask.ts Explain quantum computing in one sentence`

### Example 2: Multimodal Code Reviewer

This advanced example reads a local image file (e.g., a screenshot of a UI bug or architecture diagram) and asks Gemini to analyze it. This demonstrates the `inlineData` capability of the SDK.

```typescript
// src/analyze-image.ts
import { GoogleGenerativeAI } from "@google/generative-ai";
import * as fs from "fs";
import dotenv from "dotenv";

dotenv.config();

const genAI = new GoogleGenerativeAI(process.env.GOOGLE_API_KEY!);

// Helper to convert file to base64 for the API
function fileToGenerativePart(path: string, mimeType: string) {
  return {
    inlineData: {
      data: Buffer.from(fs.readFileSync(path)).toString("base64"),
      mimeType
    },
  };
}

async function analyzeScreenshot(filePath: string) {
  const model = genAI.getGenerativeModel({ model: "gemini-1.5-pro" });

  const imagePart = fileToGenerativePart(filePath, "image/png");
  const prompt = "Analyze this UI screenshot. Identify any accessibility issues and suggest CSS improvements.";

  console.log("Analyzing image...");

  const result = await model.generateContent([prompt, imagePart]);
  const response = await result.response;
  const text = response.text();

  console.log("
--- Analysis Result ---
");
  console.log(text);
}

// Usage: npx ts-node src/analyze-image.ts ./screenshot.png
const imagePath = process.argv[2];
if (imagePath) {
  analyzeScreenshot(imagePath);
}
Example 3: Interactive Chat Mode with History
A true CLI assistant needs memory. This example implements a REPL (Read-Eval-Print Loop) that maintains chat history context, allowing for follow-up questions.
// src/chat.ts
import { GoogleGenerativeAI } from "@google/generative-ai";
import * as readline from "readline";
import dotenv from "dotenv";

dotenv.config();

const genAI = new GoogleGenerativeAI(process.env.GOOGLE_API_KEY!);

async function startChat() {
  const model = genAI.getGenerativeModel({ model: "gemini-1.5-flash" });

  // Initialize the chat session
  const chat = model.startChat({
    history: [
      {
        role: "user",
        parts: [{ text: "You are a helpful CLI assistant for a software engineer. Keep answers concise." }],
      },
      {
        role: "model",
        parts: [{ text: "Understood. Ready to assist." }],
      },
    ],
  });

  const rl = readline.createInterface({
    input: process.stdin,
    output: process.stdout,
    prompt: 'You> '
  });

  rl.prompt();

  rl.on('line', async (line) => {
    if (line.toLowerCase() === 'exit') {
      rl.close();
      return;
    }

    try {
      const result = await chat.sendMessageStream(line);
      process.stdout.write("Gemini> ");

      for await (const chunk of result.stream) {
        process.stdout.write(chunk.text());
      }
      process.stdout.write("
");
    } catch (e) {
      console.error("Error:", e);
    }

    rl.prompt();
  }).on('close', () => {
    console.log('Goodbye!');
    process.exit(0);
  });
}

startChat();
Advanced Use Cases
Once the foundational CLI is established, developers can leverage advanced strategies to optimize performance and utility.
Optimizing Context Windows with Token Counting
When building a CLI that analyzes large files (e.g., "read this entire repository"), you must manage the context window. Although Gemini 1.5 Pro features a massive context window (up to 2 million tokens), unnecessary tokens cost money and latency. Use the countTokens API endpoint before sending a request to ensure your CLI fails gracefully or summarizes data if the input is too large. This prevents opaque 400 errors from the API.
Structured Output (JSON Mode)
For CLIs that pipe output into other tools (like jq or database seeders), unstructured text is useless. You can force Gemini to output valid JSON by specifying responseMimeType: "application/json" in the generation config. This allows you to build chains: Gemini CLI -> JSON -> Python Script.
const model = genAI.getGenerativeModel({
  model: "gemini-1.5-flash",
  generationConfig: { responseMimeType: "application/json" }
});
Handling Rate Limits (429 Errors)
In a CLI loop or automated pipeline, you may hit rate limits (HTTP 429). A production-grade CLI must implement exponential backoff. Do not simply crash when a request fails; instead, catch the error, wait (sleep), and retry with an increasing delay. This ensures your long-running batch jobs don't fail halfway through due to a momentary API spike.
Comparison and Ecosystem Context
Understanding where the Google Gemini CLI fits into the broader developer ecosystem is vital for choosing the right tool for the job.
Gemini CLI vs. cURL/REST API
While you can access Gemini via raw cURL commands, this approach is brittle. Managing JSON escaping in bash is error-prone, and handling streaming responses via cURL is difficult to parse visually. Building a dedicated CLI wrapper using the Node.js SDK abstracts authentication, error handling, and stream formatting, providing a significantly better Developer Experience (DX).
Gemini vs. Local LLMs (Ollama)
Tools like Ollama allow running models locally via CLI. While excellent for privacy and offline use, local models generally lack the reasoning depth and massive context window of Gemini 1.5 Pro. Use a Gemini CLI when you need to process large codebases or require state-of-the-art reasoning that exceeds the capacity of your local hardware.
Integration with GitHub Copilot CLI
GitHub Copilot CLI focuses primarily on shell command suggestion (gh copilot suggest). A custom Gemini CLI complements this by handling broader tasks: explaining code logic, generating documentation files, or analyzing images. They are not mutually exclusive; they form different parts of the modern terminal toolchain.
Conclusion
The Google Gemini CLI is not a static binary you install; it is a capability you build and integrate into your daily workflow. By wrapping the power of Gemini 1.5 Flash and Pro in a TypeScript shell interface, you unlock a level of automation and analysis that GUI-based tools cannot match.
Key takeaways from this guide:
- Immediacy: Access AI assistance without context switching.
- Multimodality: Analyze images and files directly from your file system.
- Extensibility: Use function calling to connect AI reasoning to local system execution.
Your next step is to take the code examples provided here and extend them. Add flags for saving output to files, integrate it with your git hooks, or build a specialized debugger for your specific stack. The future of development is not just writing code; it is orchestrating intelligence to write it with you.